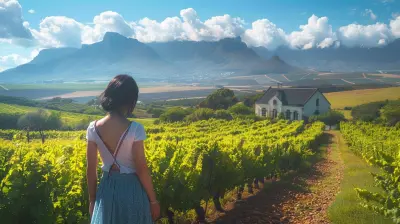
How to Capture the Perfect Sunset at These Dreamy Locations in 2027
27 May 2026
Let's be honest for a second. You've probably scrolled through a thousand sunset photos on Instagram, each one more golden and dreamy than the last. You know the feeling: that little pang of envy mixed with a burning desire to be there, camera in hand, watching the sky melt into a million shades of orange and pink. But here's the thing-capturing a sunset that actually looks like the one you saw with your own eyes? That's a different beast entirely. It's like trying to bottle a lightning bug. You think you've got it, but then it's just a blurry mess.
I've been there. I've stood on a cliff in Santorini, wind whipping my hair into a frenzy, fumbling with settings while the sun dipped faster than I could blink. The result? A photo that looked more like a bad watercolor than a memory. So, I've learned a few tricks. And as we look ahead to 2027, with new tech and some seriously under-the-radar locations, it's time to rethink how we approach that perfect shot. This isn't about gear snobbery or complicated jargon. It's about you, your phone or camera, and a sky that's about to put on a show.
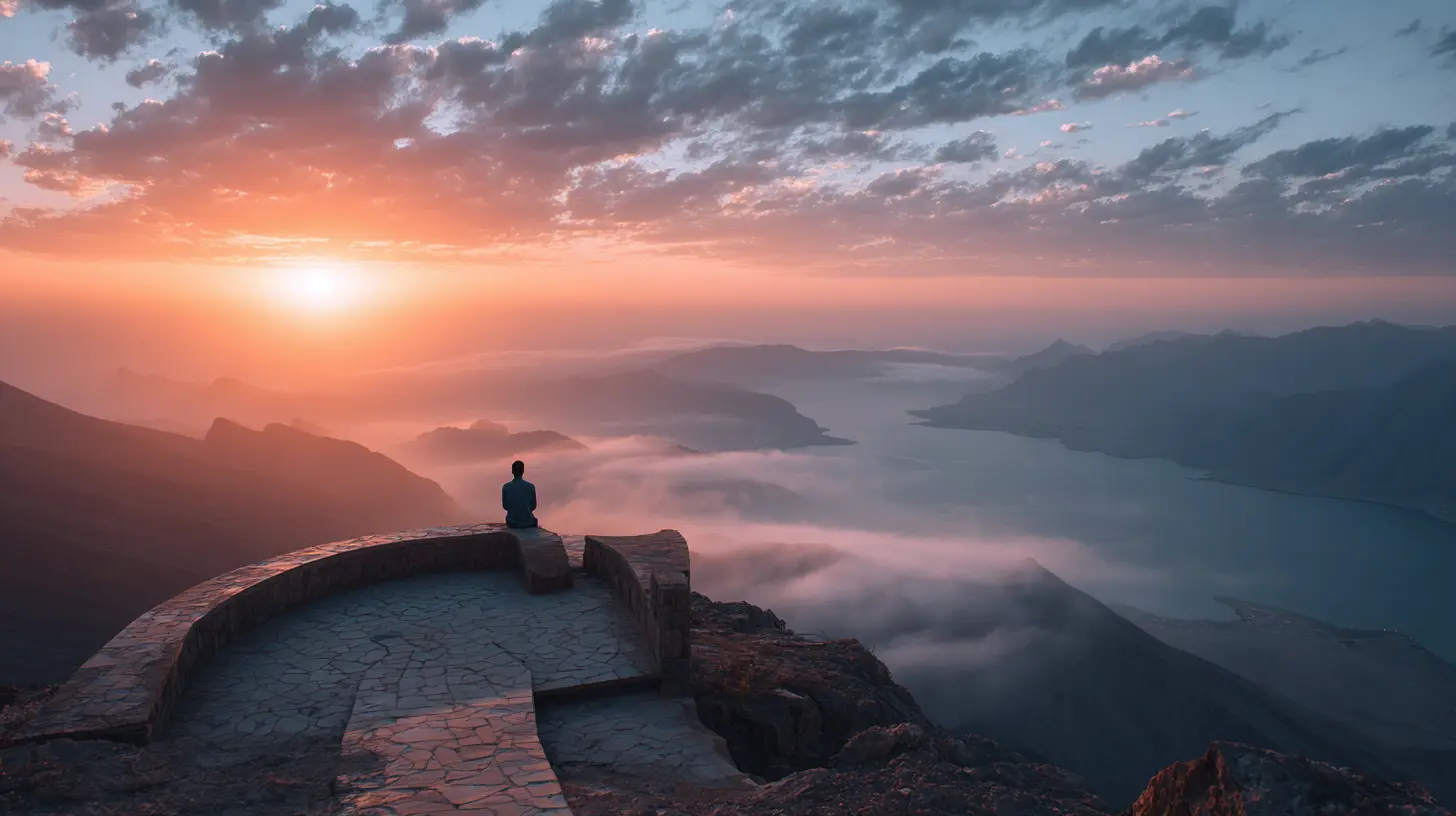
Why 2027 Will Be the Year of the Sunset Chaser
You might be wondering, why the heck am I talking about 2027? Isn't that just next year? Well, yes, but think about it. Travel trends are shifting. People are tired of the same old crowded spots. By 2027, the quiet corners of the world will be louder, and the loud ones will be unbearable. But more importantly, camera technology in smartphones is getting ridiculous. We're talking about computational photography that can stitch together multiple exposures in real time, giving you HDR that doesn't look fake. Plus, drone regulations are loosening in some places, and AI editing tools are so good they practically do the work for you. But-and this is a big but-you still need the human touch. A machine can't feel the warmth on your skin or the quiet hush that falls over a beach as the sun says goodbye.So, let's talk about the dreamy locations you should have on your radar for 2027, and how to capture them without looking like a tourist with a shaky hand.
The Art of "Golden Hour" Timing (It's Not Just About the Time)
Everyone talks about golden hour. But here's the secret: golden hour isn't a single moment. It's a window that opens about an hour before sunset and closes about ten minutes after. For 2027, plan to arrive at least 90 minutes early. Why? Because the best sunset photos aren't just the sun itself. They're the light hitting the clouds, the rocks, the water, and even your subject's face. If you show up five minutes before, you'll be scrambling. You want to settle in, scout your angles, and breathe.Think of it like a slow dance. The sun is your partner, and you're leading. You need to feel the rhythm. If you're in a place like the Faroe Islands (yes, that's on the list for 2027), the light can change from harsh to soft in minutes. Use a weather app that predicts sunset quality based on cloud cover. I use one that gives a "sunset score" out of 100. Aim for 70 or above. That's your sweet spot.
Location #1: The Black Sand Beaches of Vik, Iceland (But Not the Main One)
Iceland is a cliché for a reason, but by 2027, the main black sand beach at Vik will be a zoo. Instead, head to the lesser-known stretch near Reynisfjara, but walk east for about 20 minutes. There's a hidden cove with basalt columns that look like organ pipes. The contrast of jet-black sand, white foam, and a fiery orange sky is surreal.How to capture it: Use a wide-angle lens (or your phone's panorama mode) to get the columns in the foreground. Set your exposure manually. Your camera will try to brighten the dark sand, which will wash out the sky. Dial down the exposure by one or two stops. You want the sand to look black, not gray. Then, use a graduated filter in post-processing to darken the top of the sky if needed. The trick is to keep the horizon line straight. Nothing ruins a sunset photo like a tilted horizon. It's like a drunk sailor trying to stand up.
Location #2: The Salt Flats of Uyuni, Bolivia (But After the Rain)
You've seen the mirror effect photos. They're everywhere. But here's the thing: most people go during the dry season when it's just cracked earth. For 2027, time your trip for late February or early March, right after the rainy season. The water is just a few inches deep, creating a perfect reflection. But the real magic? The sunset. The sky reflects off the water, and you feel like you're walking on clouds.How to capture it: This is where a tripod is non-negotiable. Even a cheap one works. Set your camera to a low ISO (100 or 200) and use a small aperture (f/11 or f/16) for maximum sharpness. Use a remote shutter or your phone's timer to avoid camera shake. The reflection is symmetrical, so you want the horizon dead center. For a creative twist, have a friend stand about 50 feet away and jump. The silhouette against the mirror is pure poetry. Just don't step into a puddle that's deeper than you think. I've seen people lose their shoes.
Location #3: The Rice Terraces of Tegallalang, Bali (But Go at 4 AM)
I know, I know. Bali is overrun. But the rice terraces at sunrise? That's a different story. By 2027, the main viewing platforms will be packed with influencers doing yoga poses. Instead, hire a local guide to take you to a lesser-known section called "Paku Manu." It's a bit of a hike, but you'll have the place to yourself. The terraces create layered, curving lines that lead the eye to the horizon.How to capture it: Use leading lines. The terraces are natural arrows pointing toward the sun. Stand at the edge of a terrace and shoot downward, so the lines converge in the distance. The light will be soft and diffused through the morning mist. Use a polarizing filter to cut through the glare from the wet rice paddies. This will make the greens pop and the sky look richer. And please, for the love of all that is holy, turn off your flash. The only thing worse than a bad sunset photo is one with red-eye.
Location #4: The Painted Hills of Oregon, USA (But in Autumn)
Most people think of the Painted Hills as a spring destination. Wrong. In autumn, the low angle of the sun creates long shadows that exaggerate the stripes of red, gold, and black. By 2027, the crowds will have discovered it, but you can beat them by going on a weekday in late October. The hills look like a painter's palette, and the sunset turns them into a living canvas.How to capture it: This is a landscape where texture is king. Get low to the ground. I mean, really low. Lie down if you have to. Use a telephoto lens (70-200mm) to compress the layers of hills. The compression makes the distant hills look closer to the foreground, creating a sense of depth. Shoot in RAW format if your camera allows it. RAW files capture more data, so you can adjust the color temperature later. The hills can look too red or too orange in JPEG. In post, bump up the clarity and texture sliders slightly. Not too much-you don't want it to look like a cartoon.
Location #5: The Salar de Atacama, Chile (But at Twilight)
The Atacama Desert is famous for its starry skies, but the sunset there is a hidden gem. The sky turns a deep, almost purple-blue, and the salt flats reflect it like a mirror. By 2027, there will be a new eco-lodge that offers private sunset tours. Book it. The isolation is worth every penny.How to capture it: Twilight is tricky. The light is dim, but not dark. Your camera will want to use a high ISO, which introduces noise. Instead, use a tripod and a slow shutter speed. Start at 1/30th of a second and adjust. If you're shooting with a phone, use the "Night Mode" feature, but stabilize it against a rock or your bag. The key is to capture the gradient of colors from the horizon to the zenith. The sky will be darker at the top and lighter near the ground. Use a graduated neutral density filter to balance that out. Or, just take two photos (one exposed for the sky, one for the ground) and blend them in Photoshop. It's not cheating. It's being smart.
The Gear You Actually Need (Spoiler: It's Less Than You Think)
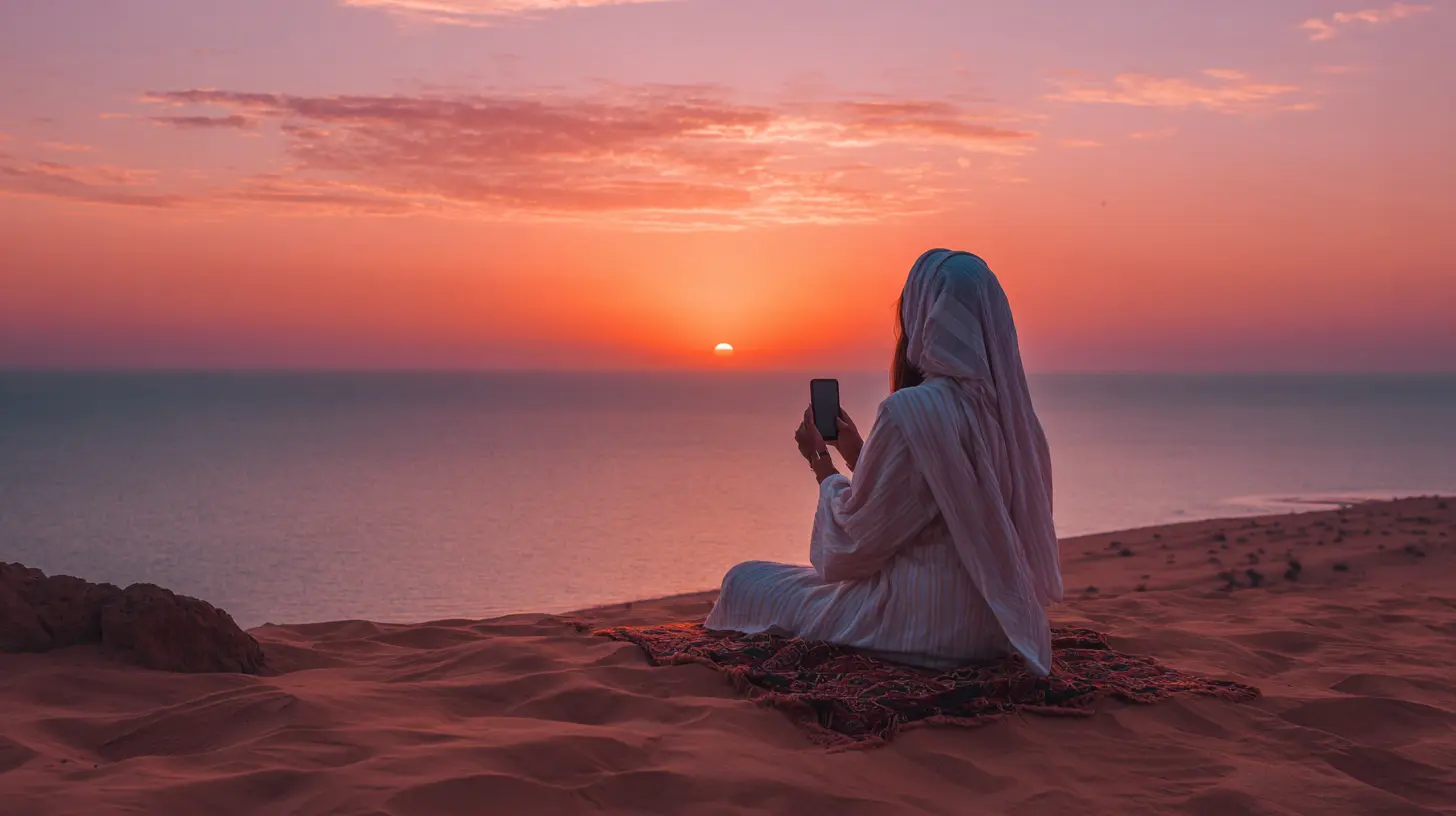
You don't need a $5,000 camera. I've taken stunning sunset photos with an iPhone 14 and a $20 tripod. What matters is understanding light. In 2027, the best tool you can have is a pair of eyes that notice the small things. The way the sun's rays fan out through a gap in the clouds. The golden halo around a silhouette. The texture of a rock catching the last bit of light.Here's my minimalist kit for sunset chasing:
- A camera or phone with manual controls (most flagships have this).
- A lightweight tripod that fits in your backpack.
- A remote shutter or a 2-second timer.
- A polarizing filter (screws onto your lens or clips onto your phone).
- A microfiber cloth (because lens smudges are the enemy).
That's it. No gimmicks. No fancy drones (unless you're licensed, which you should be by 2027).
The Editing Trap (And How to Avoid It)
Here's where most people mess up. They oversaturate the colors until the sky looks like a melted popsicle. Or they add too much contrast, making the shadows pitch black and the highlights blinding. The goal is not to make the sunset look better than it was. The goal is to make it look like what you actually saw. Because when you look back at that photo in ten years, you want to feel the breeze, not just see a digital mess.Use editing software like Lightroom or Snapseed. Start with the white balance. Sunsets are warm, so adjust the temperature slider toward yellow/orange. But don't go past 6500K. Then, increase the vibrance slightly (not saturation). Vibrance affects muted colors more than bright ones, so it avoids the clown-puke effect. Finally, use a radial filter to darken the edges of the photo, drawing the eye to the center. This is called vignetting, and it's a subtle way to add drama.
The Human Element (Don't Forget Yourself)
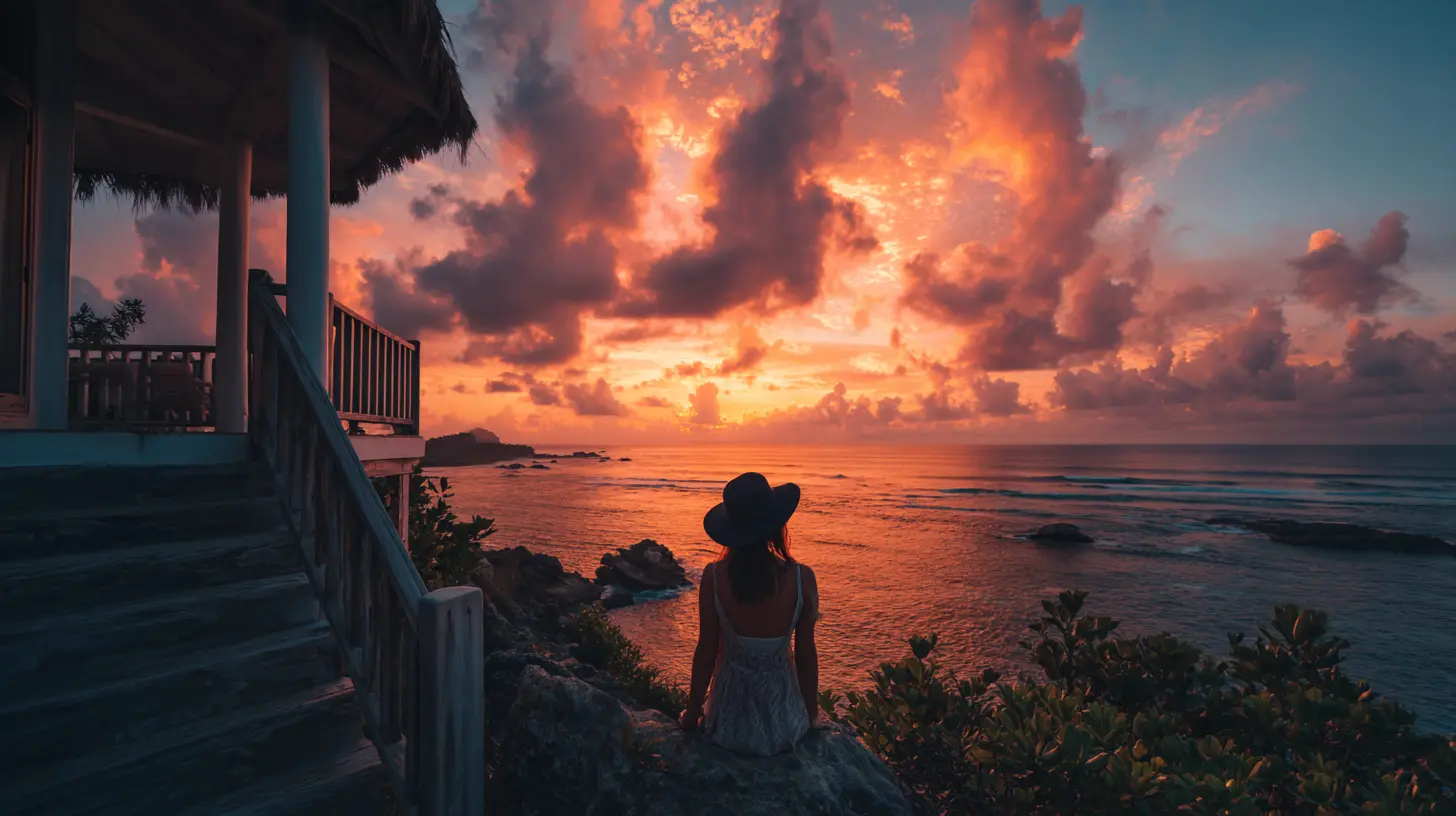
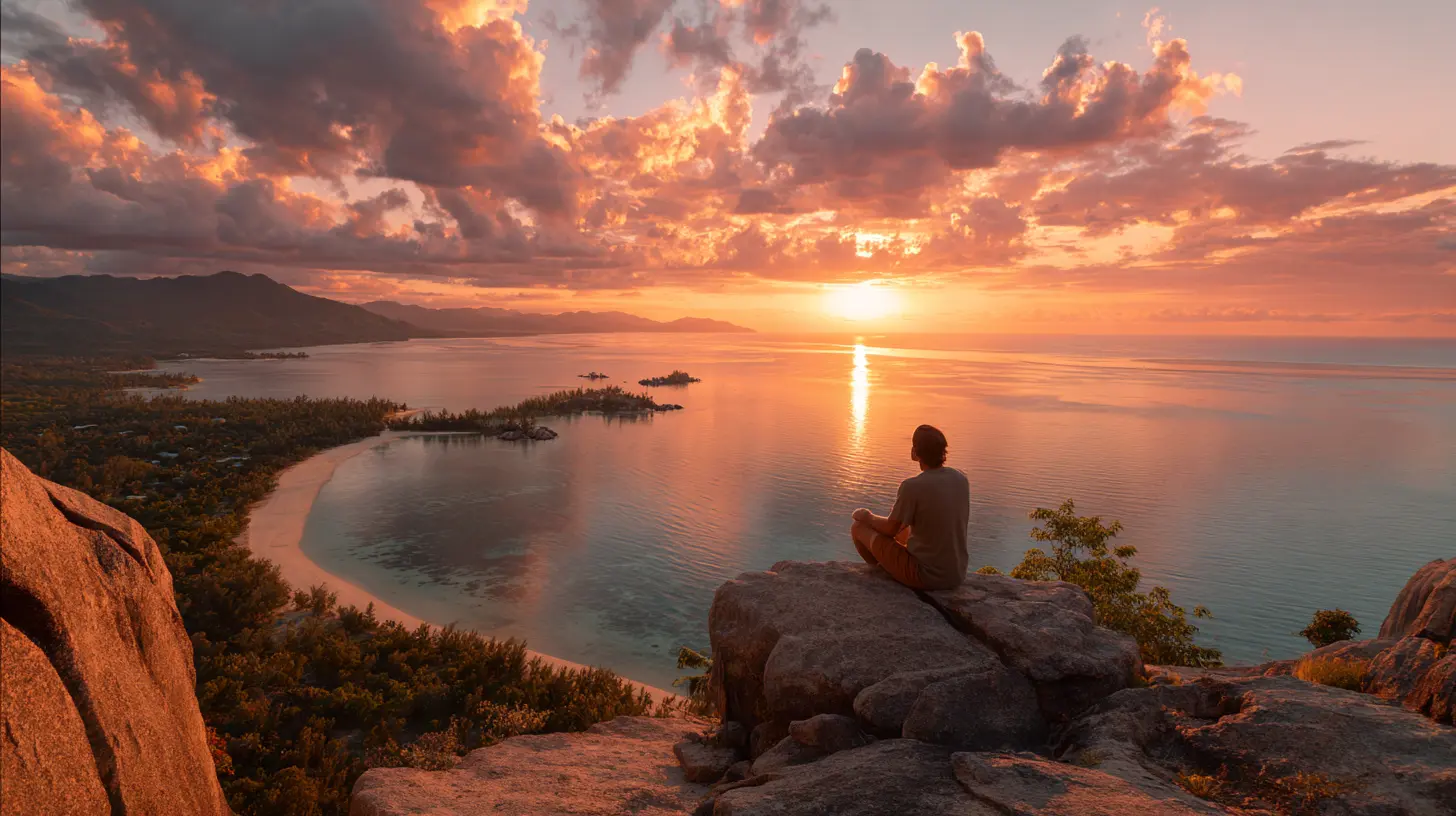
The best sunset photos include a person. Not as a model, but as a scale. A tiny figure standing on a cliff makes the landscape feel massive. It gives the viewer a sense of place. So, ask your travel buddy to stand in the frame. Or set a timer and run into the shot. Don't pose. Just stand there and look at the sky. The photo will capture that quiet awe.I remember a sunset in the Algarve, Portugal. I was alone, and I set my camera on a rock. I walked into the frame and just stared at the horizon. The photo came out blurry because I forgot to focus. But I love it. It's a reminder that perfection is overrated. Sometimes, the imperfect shot holds more truth.
Final Thoughts for 2027
As travel becomes more accessible and technology gets smarter, the challenge won't be taking a good sunset photo. It'll be taking one that feels real. The dreamy locations I mentioned-Vik, Uyuni, Bali, Oregon, Atacama-they're not just backdrops. They're experiences. So, put down the phone for a minute. Watch the sun dip below the horizon. Feel the air cool. Listen to the waves or the wind. Then, when the moment feels right, lift your camera and click.You'll get the shot. But more importantly, you'll have the memory.
all images in this post were generated using AI tools
Category:
Scenic ViewsAuthor:

Claire Franklin
Discussion
rate this article
1 comments
Sarina Walker
Chasing sunsets offers more than beauty; it's a reminder of fleeting moments. As day fades into night, we witness nature's artistry, prompting reflection on our own journeys. In 2027, let each sunset inspire gratitude and new beginnings.
June 12, 2026 at 2:51 AM